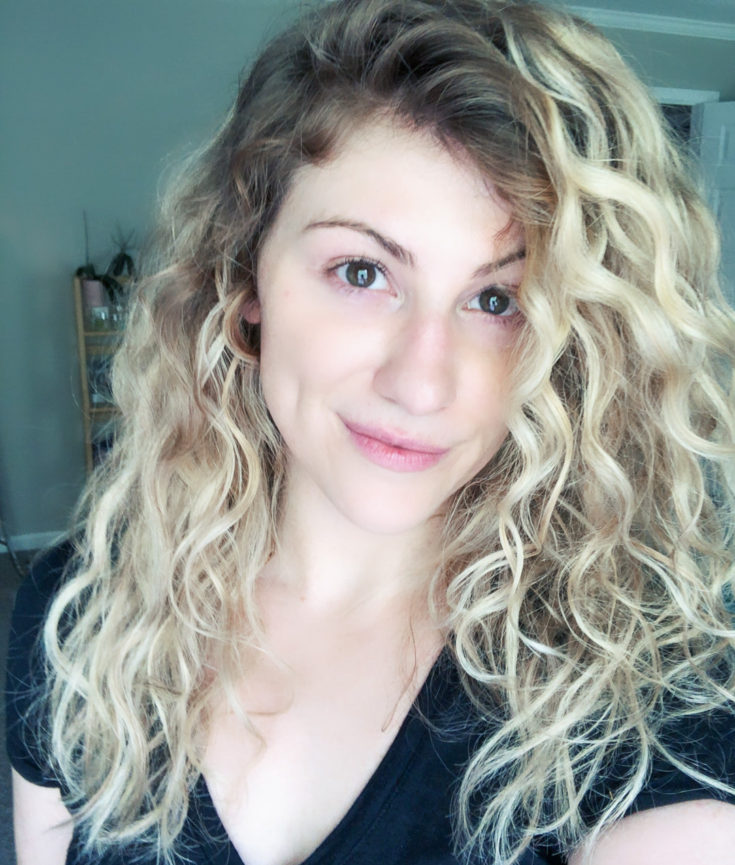
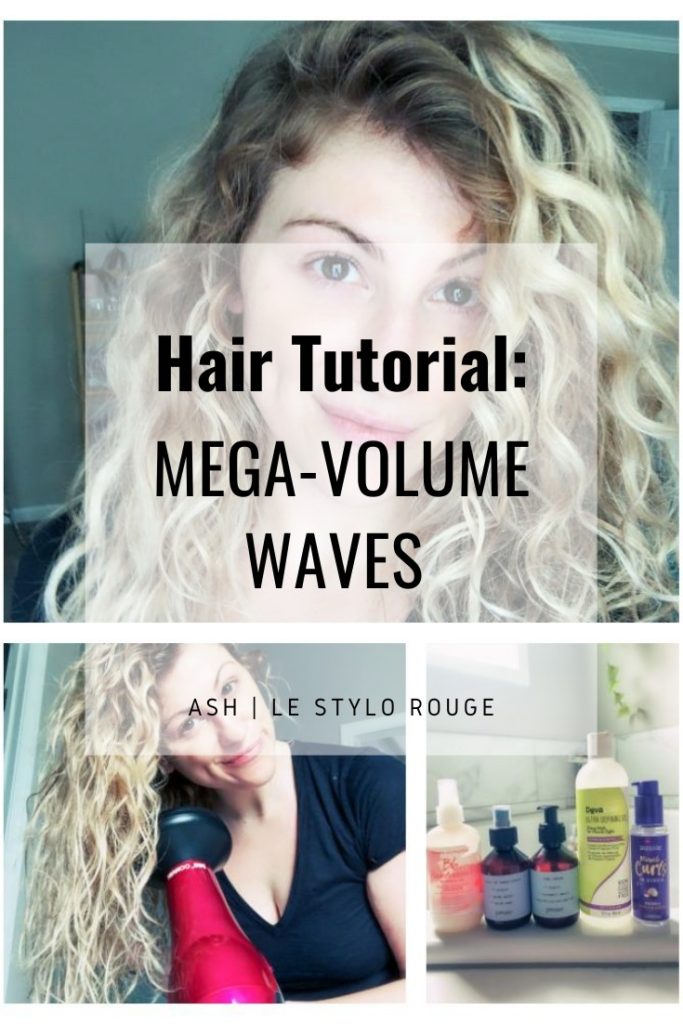
A curly hair tutorial on how I get these super voluminous waves (with minimal heat).
This post contains affiliate links.
One advancement I’ve made in quarantine: I’ve nailed achieving curls with mega-volume. I always knew my hair was wavy, but I didn’t realize I had this much defined curl. I mentioned I had been playing around with different styling techniques after stumbling across India Batson’s YouTube channel and realizing our hair was very similar.
I’m walking you through exactly how I get these voluminous, touchable waves (with very minimal heat styling). Let’s start in the shower with shampoo and conditioner.
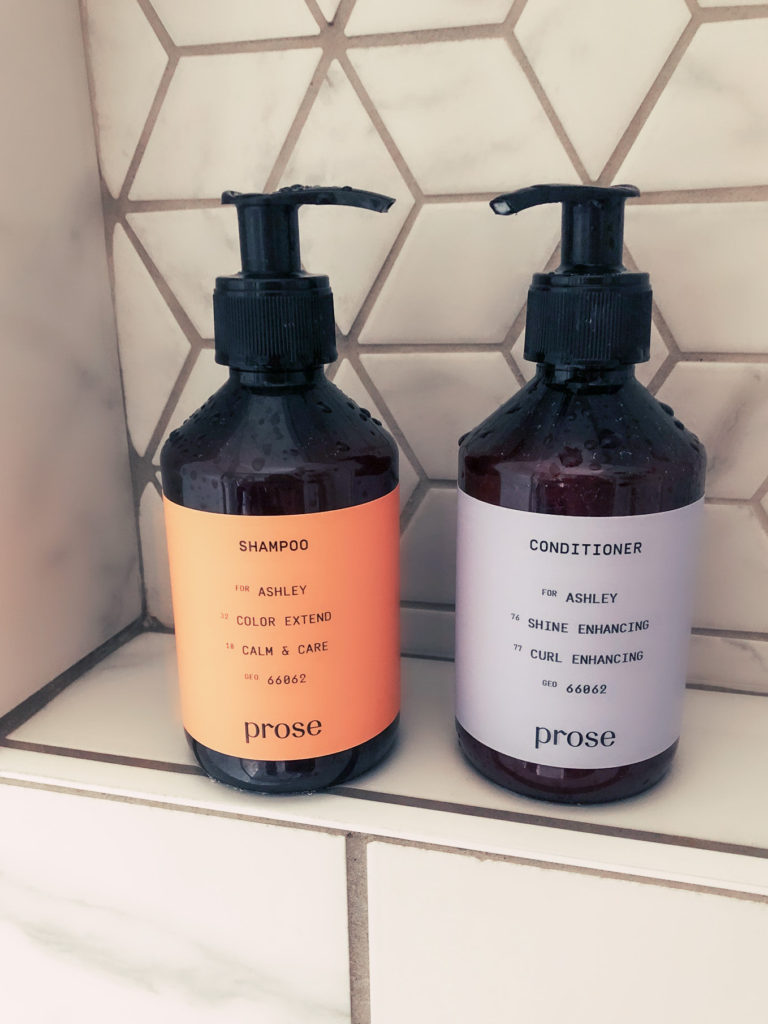
I’ve been trying Prose out for the past month or so; Prose is a hair care company offering completely customized products for your hair type. And not just your general hair type– your exact hair type, based on a quiz you take before ordering. They ask about thickness (me = really thick), porosity (me = very porous), how dry your hair is (mine = really dry), where you live (so they can factor in UV and air pollution based on your zip code), and what you want to achieve (me = color protection, hydration, and curl definition).
The products I ended up getting: a pre-shampoo scalp mask (because my scalp can get dry, itchy, and flaky), the shampoo and conditioner, the leave-in conditioner, and the curl cream. (More on these products and the other products I use below.)
I use the mask every week or so, but have been using the other products every time I wash + style for the past 4-5 weeks.
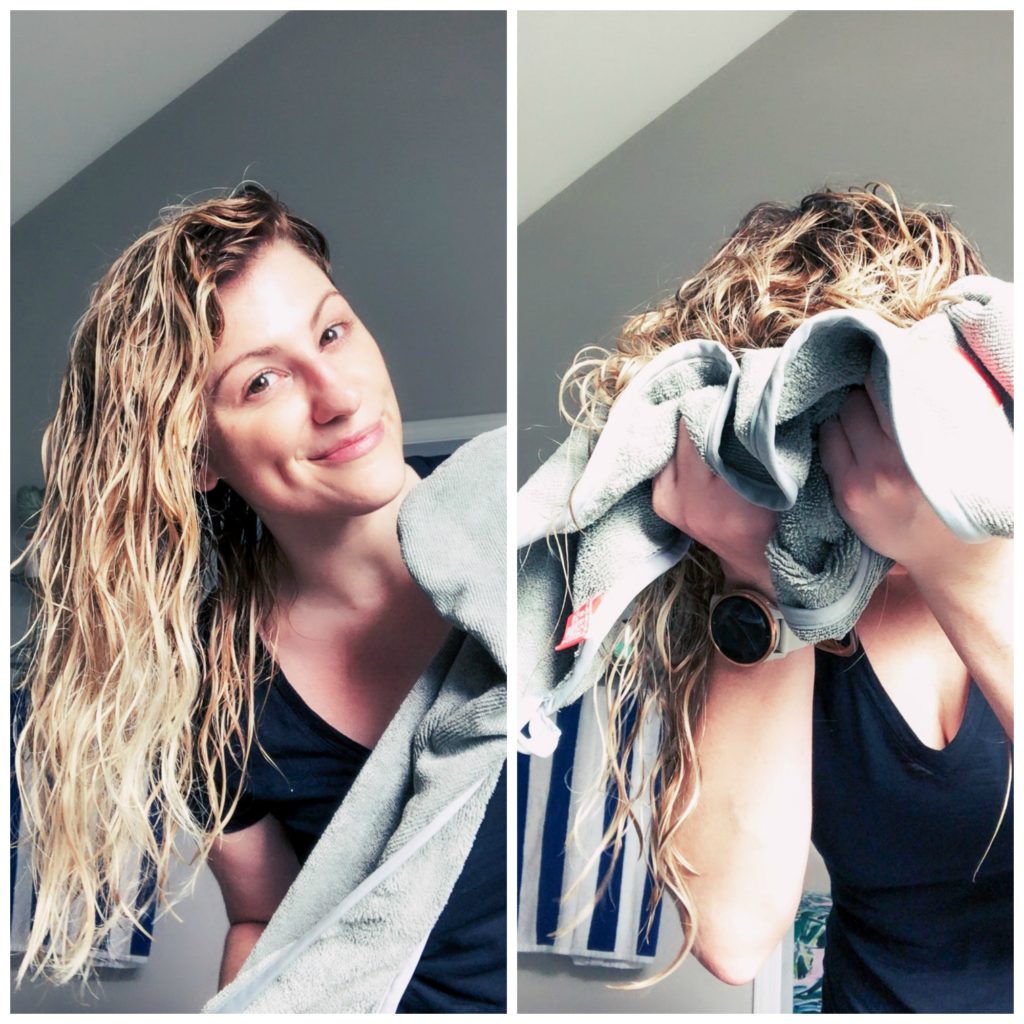
So after washing and conditioning in the shower, I wrap my hair in a microfiber hair towel. These are super lightweight and absorbent; a two-pack was just $12 on Amazon. I leave my hair in the towel for a few minutes, then scrunch it with the towel to start defining the waves.
Note: I do not comb/brush my hair post-shower. I will detangle (sometimes using a wet brush) in the shower, but I don’t comb it through after. It’s important to let the curls naturally clump together at this point.
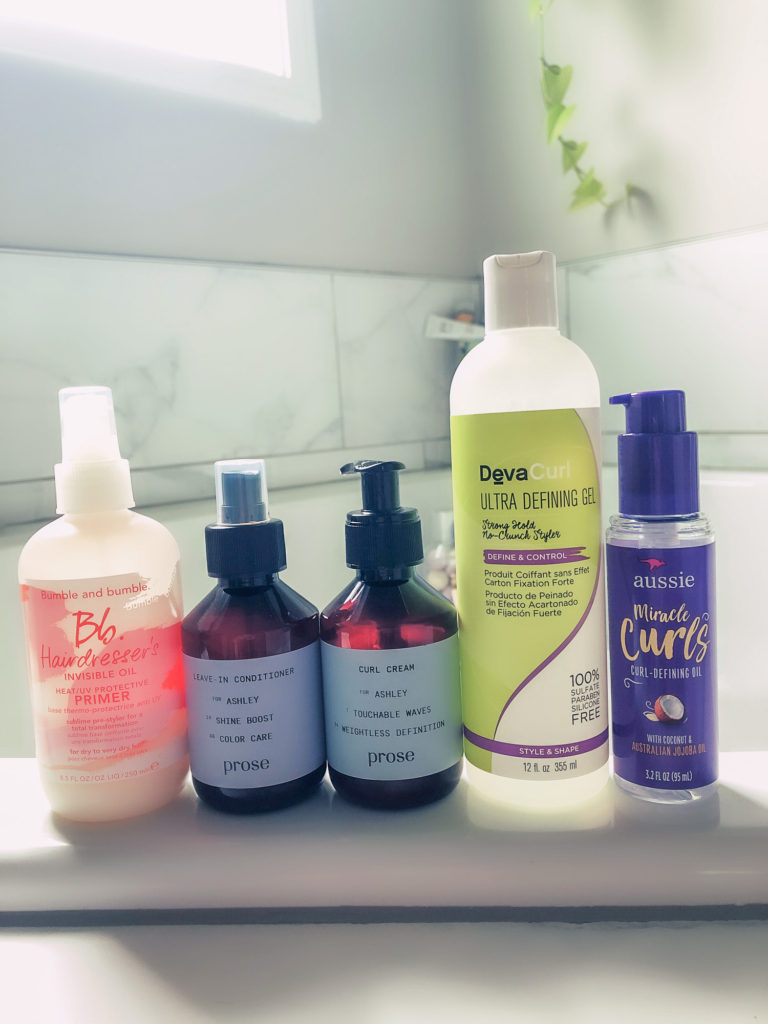
Product lineup! This is the order I use ’em, too, from left to right. I start with the Bumble&Bumble Hairdresser’s Invisible Oil primer; it protects hair from heat and UV light (aka the sun isn’t just bad for your skin, kids, it’s also bad for your hair!), conditions, and fights frizz. I spray a generous amount over my whole head, then follow with a few spritzes of the Prose leave-in conditioner. My specific Prose formula boosts shine and protects my color.
Next up: curl cream. I really work this into the hair by scrunching it. That ensures the product gets into the hair shaft so it conditions and shapes the curl. I love the Prose formula; mine aims at touchable waves and weightless definition. I find that I can use several pumps of this product all over and it doesn’t weigh my hair down. (Important to note: I have a lot of hair, and that hair is super porous, which means it sucks product up. I can put a silver dollar-sized dollop of oil on my hair and it won’t get greasy. My hair is essentially a sponge in lion’s mane form.)
Last product before drying: a defining gel. I know what you’re thinking, “Ashley, a gel?! Aren’t you going to end up with super crunchy curls?” The key here is to lightly pat it on your hair (vs. working it in via scrunching). Think of it like this: you want the curl cream to penetrate and really get up in there, while you want the gel to sit on the outside of the hair shaft and lock in that moisture.
It’s also a good idea to get a gel that works against that crunch factor; I like this DevaCurl version and have used it for years.
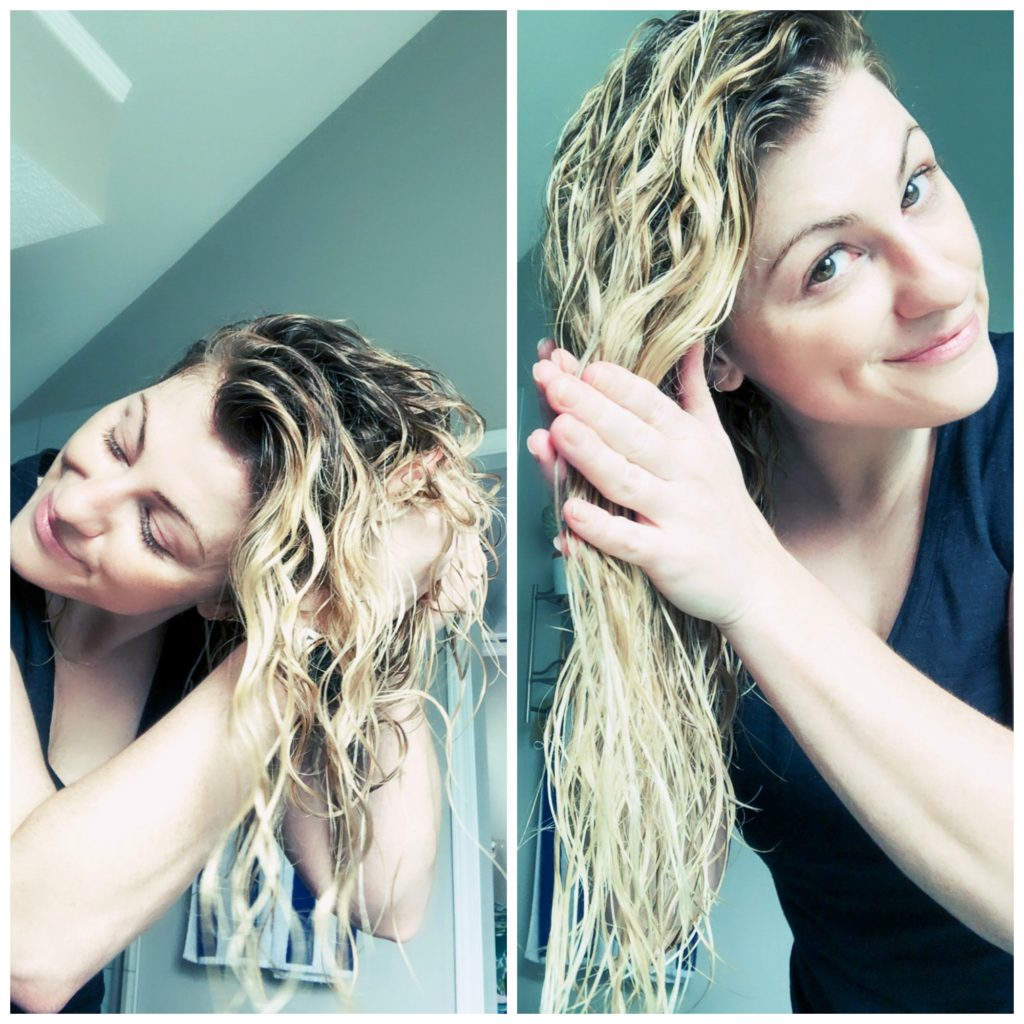
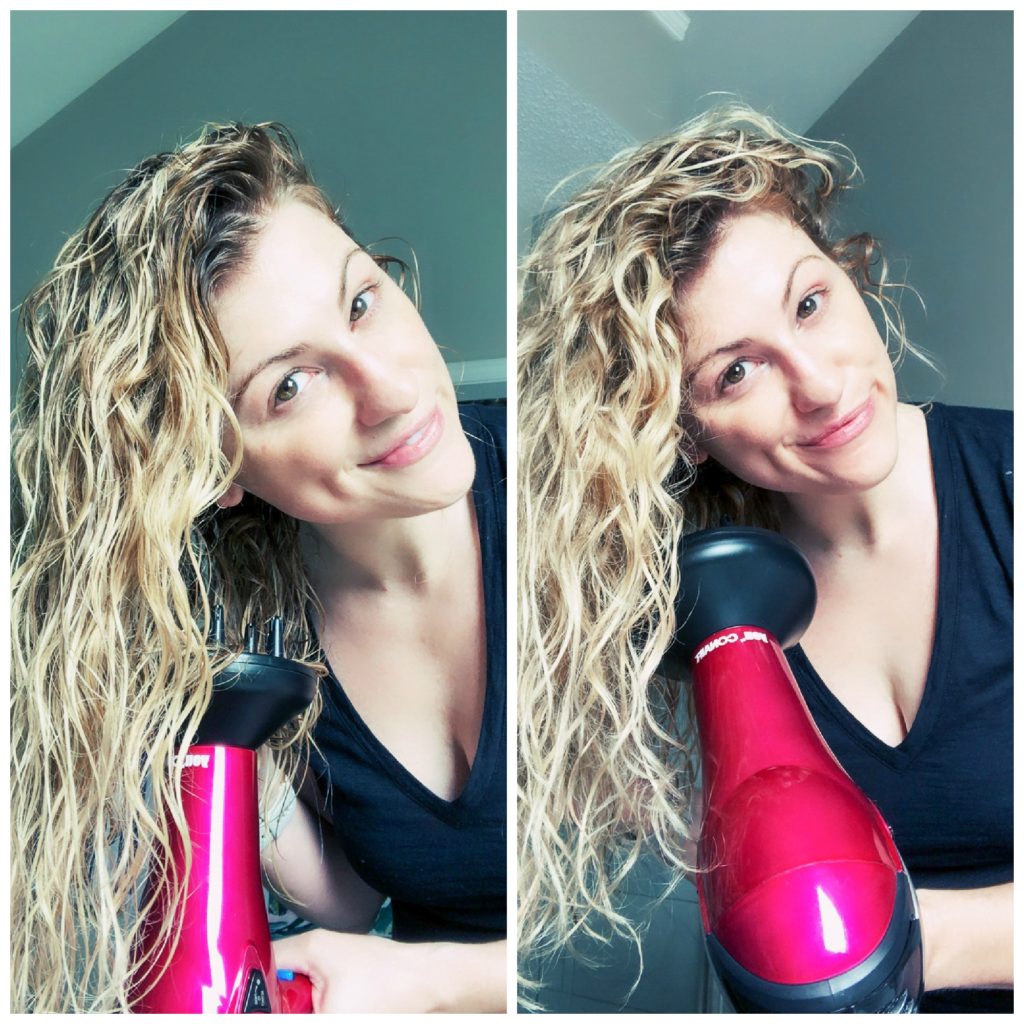
Here’s what my hair looks like post-product. Sometimes I stop here and don’t diffuse. I’ll still get defined, voluminous curls. How? I don’t let the hair settle into a part and I’m constantly flipping it back and forth from one side to the other to aid in volume-building.
The diffuser step, however, really amps everything up while (obviously) shortening dry time.
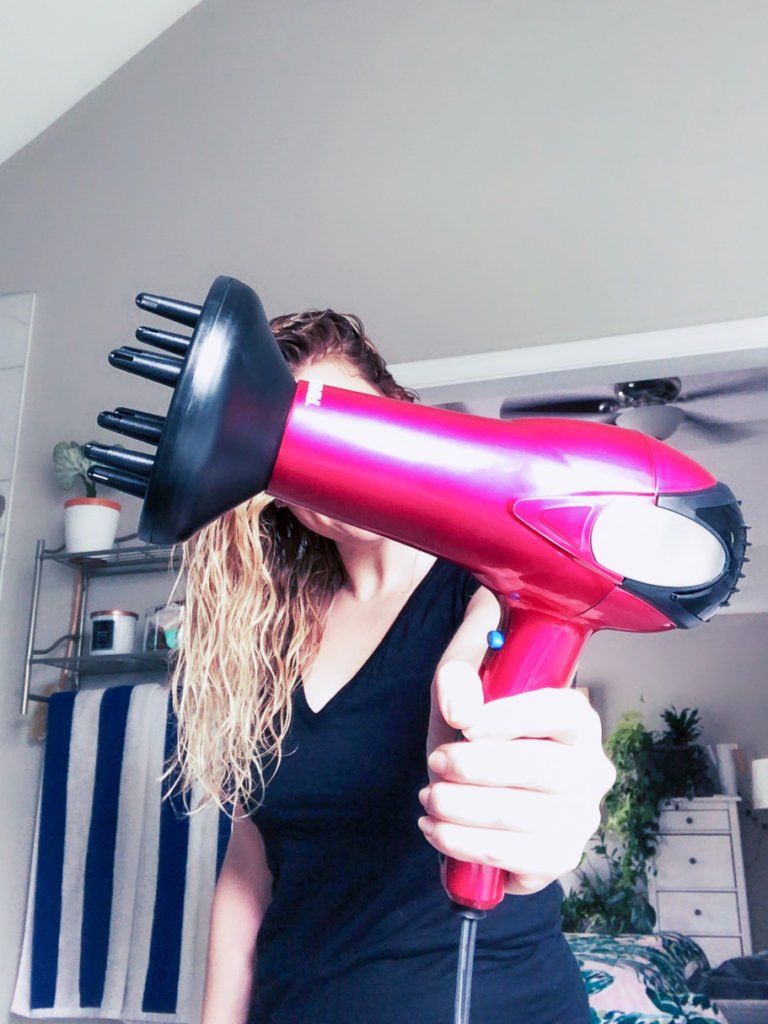
I have a super expensive, ionic technology-based hair dryer for when I blow out my hair. (Which is rare, especially in quarantine.) But for this job? I use the trusty ol’ Conair Cordkeeper (the cord is retractable!) because it comes with a diffuser. It’s $15, y’all. (My other dryer doesn’t offer the ability to slip on a diffuser attachment.)
The process is really easy: I keep the heat on warm (vs. hot) and the airflow on high as I gently dry my hair. I’ll push the diffuser up into the curls from the bottom for a few seconds here and there. Lots of hair-flipping. I don’t allow my hair to settle into a natural part when it’s drying, which boosts volume on the top.
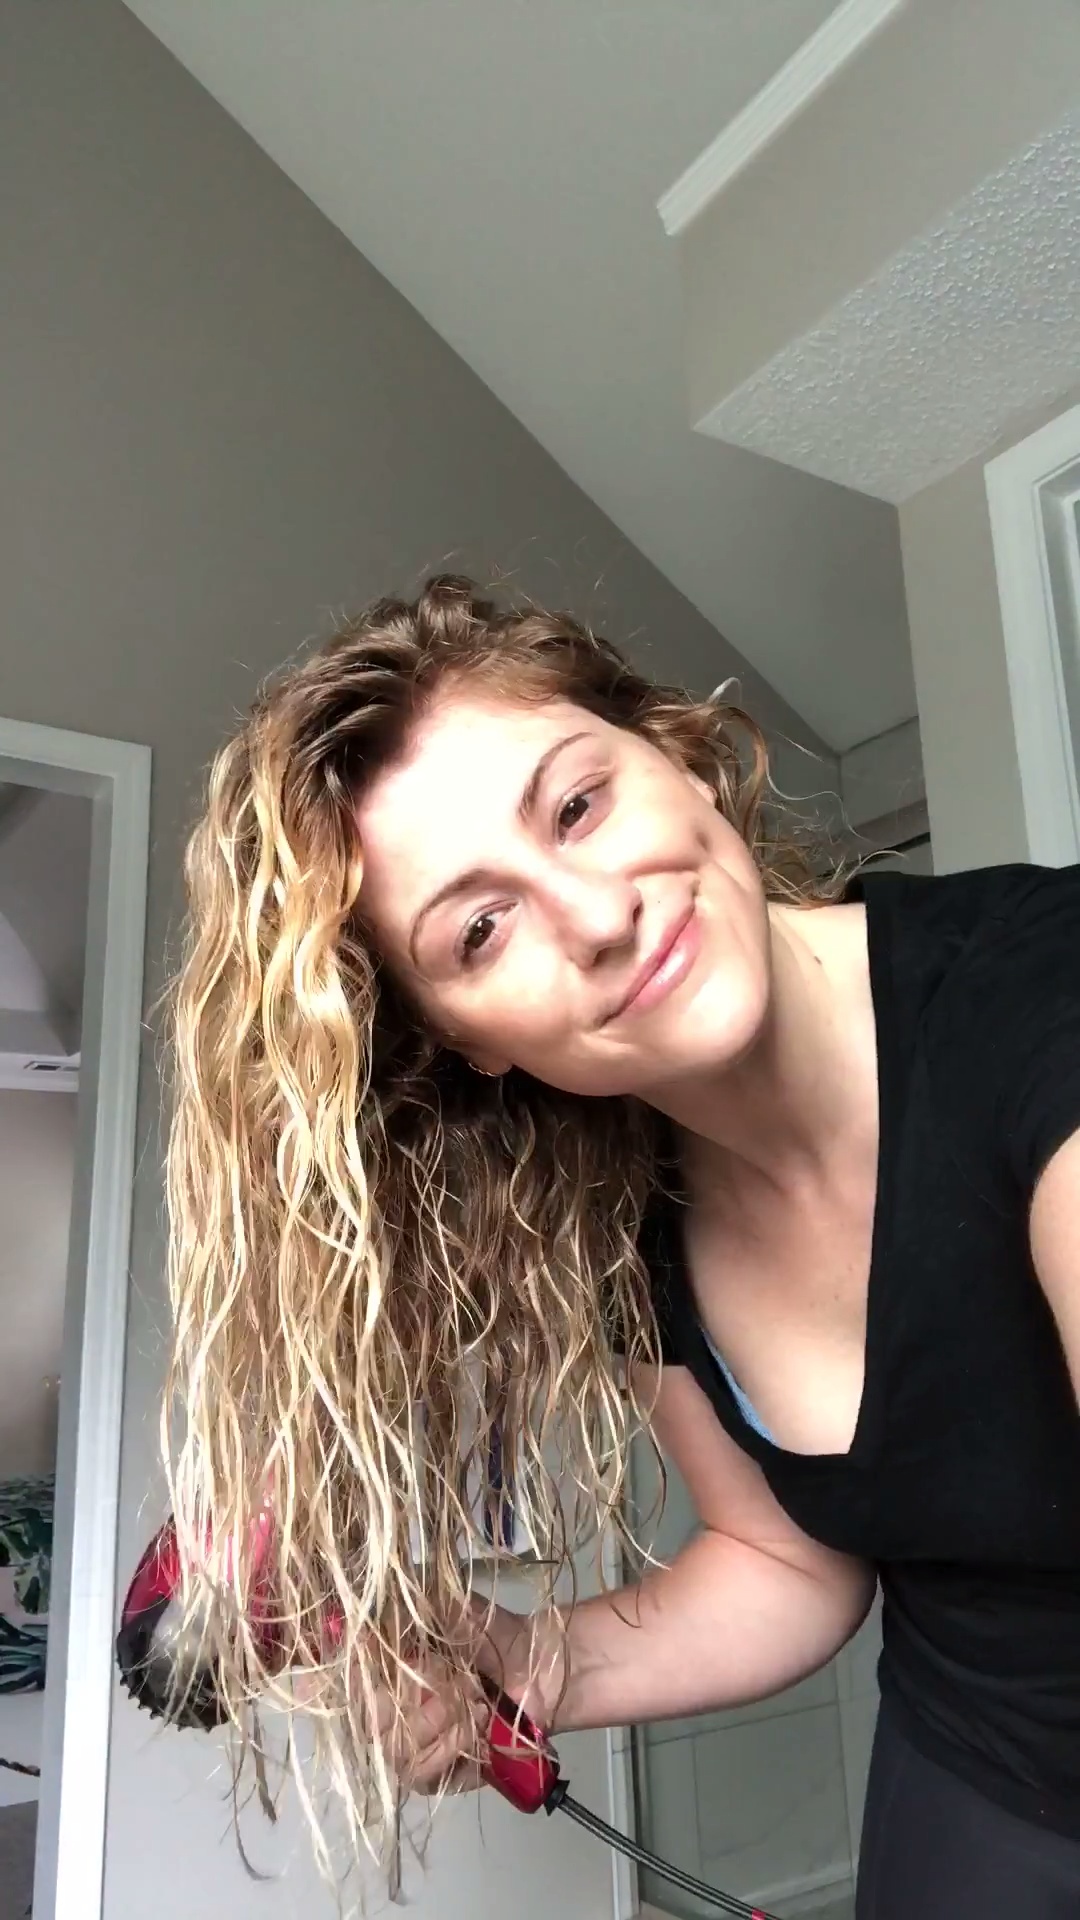
I’ll occasionally switch to the cool temperature setting, mainly to keep me from getting hot. Cool shots do add shine and help you tell where your hair is still damp.
This massive head of hair only takes about 15 minutes or so before it’s 95% dry with the diffuser– which is so impressive since I’m usually under the dryer for at least 30-45 minutes when I’m giving myself a proper blowout. And because the heat is kept low, I don’t get nearly as hot as I usually do when drying.
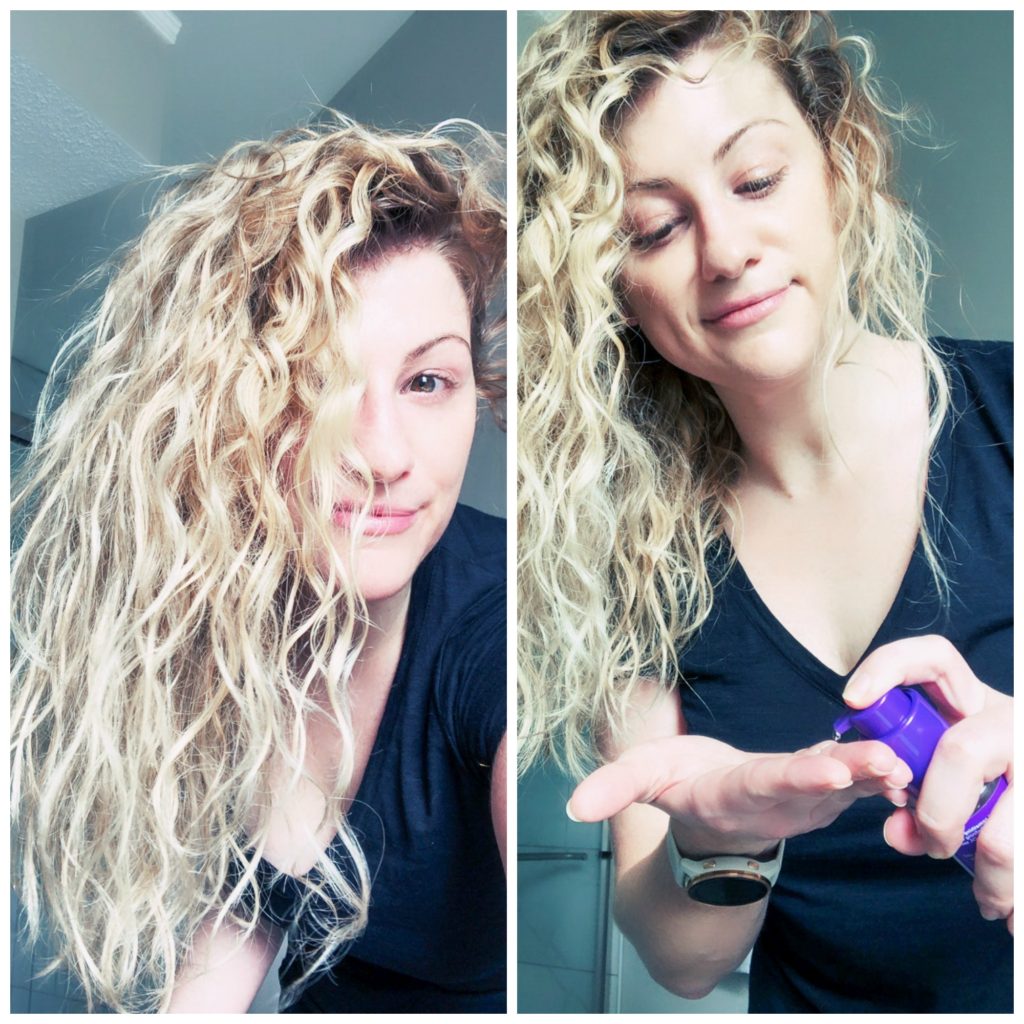
Final step: I define and tame some of the curls with Aussie’s curl-defining oil. I use a full pump on my whole head (except the roots), but a little of this goes a long way. I’m super impressed with this formula– the jojoba oil is really moisturizing and it does add some beautiful definition. This is also my go-to product for reviving second- and third-day hair.
Shop the products:

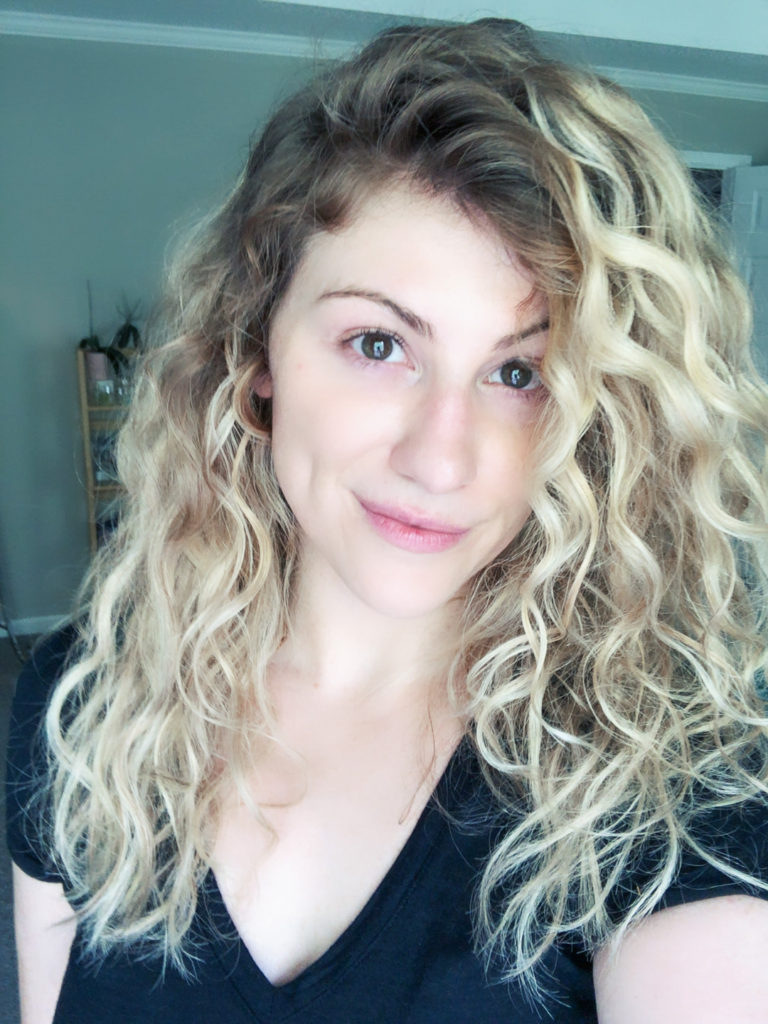
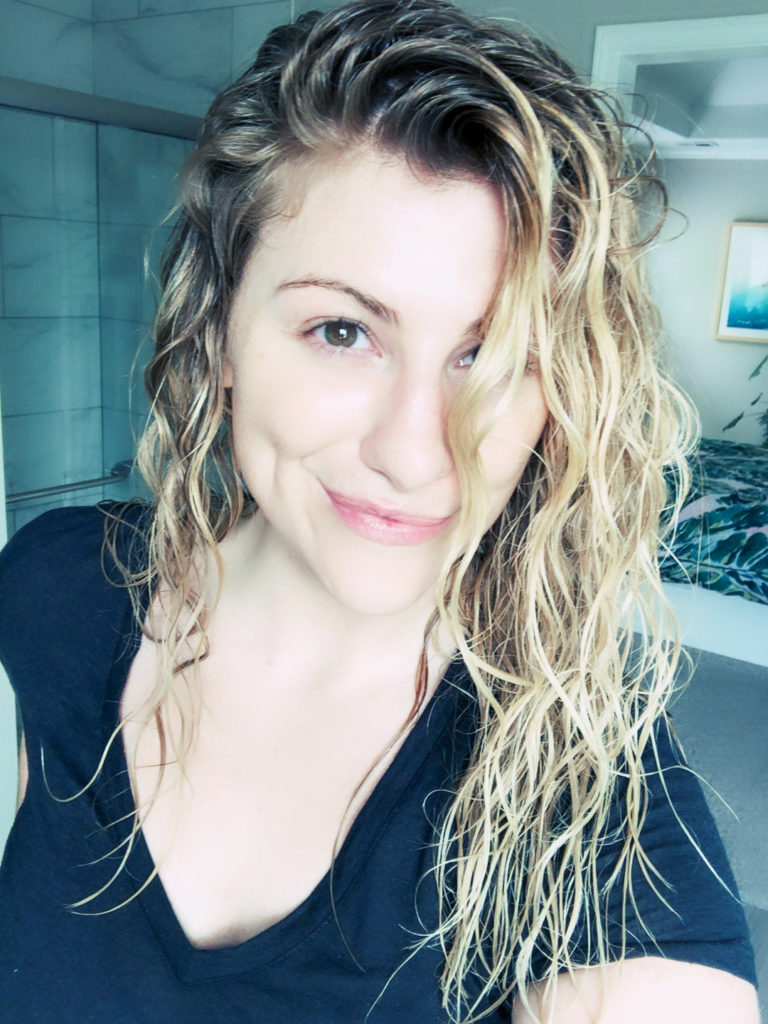
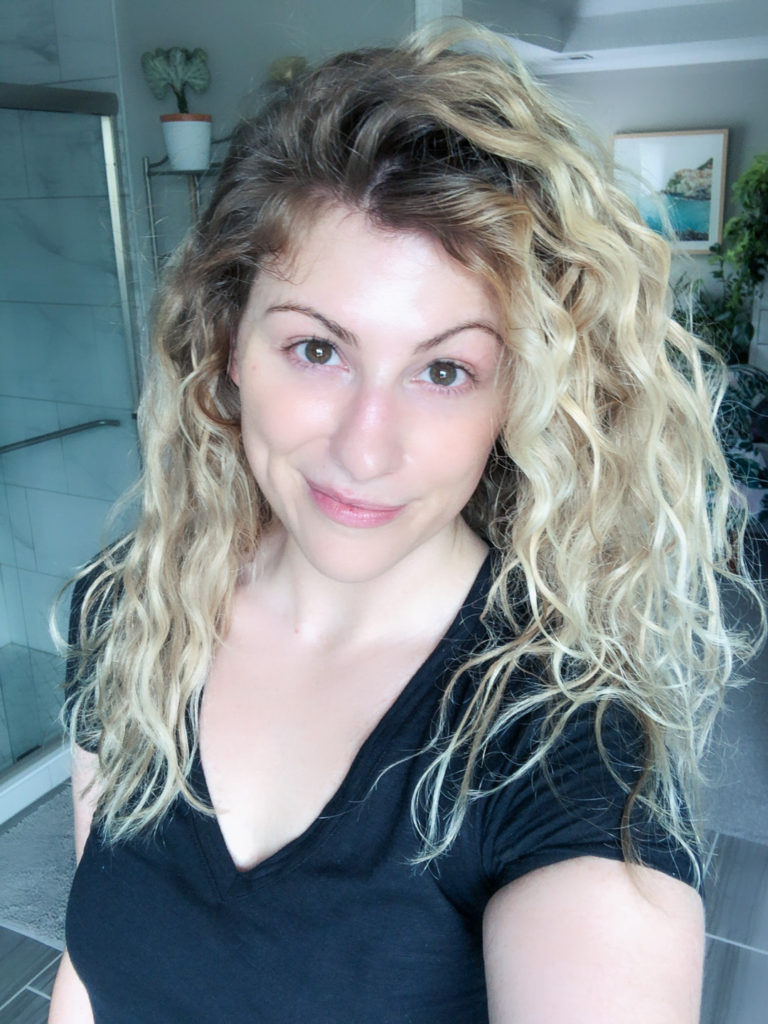
And here we have it: the finished look! I’m so here for the super huge, very 90s beach waves.
What do you guys think? Was this tutorial helpful and easy to follow? Let me know if you try to recreate these waves! I would love to see your results.
Linking up with Elegantly Dressed and Stylish, The Fashion Canvas, I Do DeClaire, Style Splash, Straight A Style, Rosy Outlook + Seeking Sunshine, Jersey Girl Texan Heart, Living on Cloud Nine, Effortlessly Sophisticated, Curly Crafty Mom + Doused in Pink, A Labour of Life, Elegance & Mommyhood, Nancy’s Fashion Style, Confessions of a Montreal Styling Diva, Lizzie in Lace, A Pocketful of Polka Dots, Shelbee on the Edge, My Random Musings, Mutton Years Style and I, Glass of Glam, and Away from the Blue.
Everything looking very nice! Awesome pics! Thanks for sharing! 🤗🤗🤗 Have a great week! 🏜️🏖️⛱️
Omg I had no idea customized hair products even existed. So cool! Love these curls!
http://www.fashionradi.com
Look at all that volume! Absolutely gorgeous, and thanks for the tutorial and product recs!
Ashley, you have gorgeous hair! That was a fun tutorial on curl maintenance. I am on the opposite side of the spectrum and have the straightest hair ever that won’t hold a curl for more than an hour! Even when my stylist does it right, the curls all fall out! Thanks for sharing and linking up with me!
Shelbee
http://www.shelbeeontheedge.com
Pretty hair❤
In love with the result, your hair is too much! Thank you for this amazing tips:)
Have a nice week!
http://www.luciagallegoblog.com
What a great post, I have curly hair too and sometimes have trouble fixing it! Will check these products out!
By the way, thank you so much for visiting my blog and for your sweet comment!
Life is a Shoe
You were so smart to use the time to perfect your curls! I’ve been doing nothing but fight my hair. Thanks for sharing!
such a lovely hair tutorial! thank you for sharing!
Perfect waves! I love your hair!
Cool Men Style
This tutorial is very helpful and easy to follow! Thanks!
The New Wallet
In love with the result, look at those voluminous defined curls. Ashley, you have gorgeous hair!! Thank you for this amazing & easy to follow tutorial.
Have a nice week!
Dheera Joshi
http://www.thestylepanorama.com
your hair & curls are soo gorgeous
michellespaige.com
You have such beautiful hair! I have wavy hair as well and I’m always trying to figure out the perfect hair routine. It’s tricky because while I do have a lot of hair it if I use too many products or too much of a product it weighs it down! Thank you for sharing your routine!
-Tracy
Find Your Dazzle
It’s so great you’ve found a routine that works for you and your hair! thanks for sharing! 🙂
Thanks so much for joining the #WeekdayWearLinkup! Hope you had a great weekend! 🙂
Away From Blue
Would you use the same products/amount of product if letting it dry on its own? I’m super lazy about blow drying my hair and often let it air dry but it obviously doesn’t get the same volume as the diffuser. Do you put your hair up at night when you sleep? Wondering about 2nd and 3rd day hair options.
Hi! I used the same products when I let it air dry (which I do sometimes too!). You don’t get the same volume, but the curl definition is still legit. I sleep with it up in a loose scrunchie situation to reduce frizz (also: silk pillowcase!) and protect the curl. I will use a little water (lightly mist, then run hands over the top- do not run fingers through!) on days 2 and 3 to reactivate product and revive curl. For days 3 and beyond: dry shampoo at the roots, and then a hair oil (like that Aussie gel oil I used in this post) for mid-shaft to ends. 🙂
Perfect curls! So easy and effortless! Thanks for sharing this tutorial!